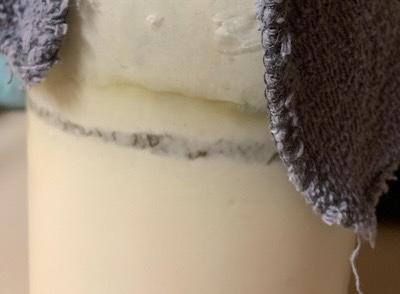
Back in 2020 when the pandemic was just hitting and everyone was stuck in their homes learning to make sourdough starters, I was still working at the clinic I was at and very pregnant. Then when I was no longer working it was because I had just had a baby. The sourdough trend skipped me for about three years.
I said I wasn’t gonna get into it, I told it to myself. I said and said and said those words, I said them but I lied them. (Sneetches book anyone? What was I scared of? Dr Seuss is a staple in our home.)
Sourdough is simply water and flour that has been mixed together and created a live culture. When used in bread it acts as the ingredient that makes it rise.
I had been planning on giving it a try when a dear friend gave me some starter. More than making bread, I was intrigued by the discard recipes. So dear reader friends, I invite you to start your own sourdough journey along with me! There are lots of websites to get instructions from, this is what I have simplified several I read down to.
To begin gather your supplies
-Glass bowl
-wooden spoon
-tea towel
-filtered water
-flour
(A little caveat here, there are varying opinions on flour types and if unfiltered water will work. I used bleached flour and unfiltered water. It caused a lot of hooch, which means my starter was eating through the feed fast. Filtered water doesn’t cause that, additionally bleached flour seemed to have no negative effects even though it’s likely not as healthy as unbleached or whole wheat would be for your gut.)
Day 1
Combine one cup of water and one cup of flour. Mix until well combined, scrap sides and continue until mixed completely. Place tea towel and allow to sit for 24 hours.
Day 2-5
Remove half the mixture, add one cup of water and one cup of flour. Repeat mixing process and replace tea towel.
Make sure to discard to ensure the feed is adequate and the starter is at a manageable amount. Healthy starter is the goal, and discarding helps get there.
Day 6-7
Continue the steps from days 2-5 but move the feedings up to every 12 hours. By day seven there should be enough bacteria alive to bake with the starter!
Working, active starter should have lots of bubbles and be doubling in size after feeds.
Once the starter gets going it can be placed in the fridge to go dormant instead of feeding daily.
*note the photo is of refrigerated starter.


